
What's for Supper Breakfast special - 5 second scramble
In preparation for my Monday morning zoom yoga class with local teacher and café regular Helen Pomeroy, I felt some protein was in order. What better than a 5 second scramble. A healthy, lean protein breakfast, brunch or lunch which takes a total of three minutes to make if you include toasting bread, getting your utensils out, cooking and plating up! Not many dishes deliver that.
We often get asked by our guests in the café how we make our popular scramble. Fast and furious are the key words. We use eggs, a teaspoon of sunflower oil and full heat under the pan. No cream, no water and most definitely no milk.
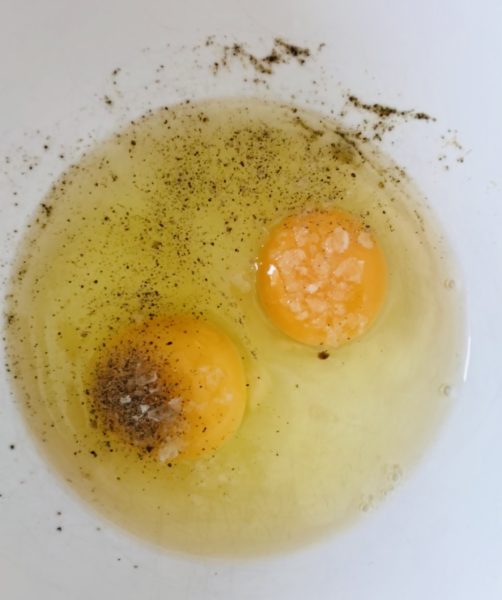
Break up the eggs using a fork. Don't whisk, just mix to create an elastic texture.
While you do this, whack the heat up under you frying pan in which you have poured about half a teaspoon of sunflower oil. Tip in the eggs, spatula or fork at the ready - as shown in the little video clip here. Some of may shudder at the sound of my stainless steel fork in my non stick pan. There is something about plastic, silicon and rubber utensils that I find unappetising and quite annoying, so I prefer a fork, applied with a light touch. So far, my trusted pans remain unscathed.
SCRAMBLE clip
Tip the scramble onto a piece of toasted sour dough. I love adding Sriracha sauce - creamy egg and hot chilli is a match made in heaven. I am also unapologetic about my love of parsley.
What's for supper this evening
My recipe for supper this evening will be my take on Borscht - a savoury, umami-redolent, muscular Beast from the East soup. All you will need is potato, beets (raw) onion, garlic, stock...
What's for Supper Weekend Bread Special 3: how to make a sour dough loaf
Our bread making classes remain the most rewarding classes to run for me and my team of Leiths and Cordon Bleu trained teaching chefs. For so many of our attending guests, they are life changing. The Beginners Bread class was the very first class that I designed back in 2009, out of our now 40 odd categories of classes. As an artisan baker, my heart and soul is in bread making in a way which it simply isn't when it comes to cakes or desserts.
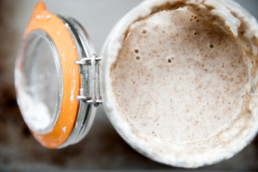
If you have followed my instructions on how to make a starter and you are now the proud owner of a lively, bubbling, healthy looking starter ready to become the first of many sour dough based loaves, congratulations! Let's get baking.
Just to recap, we created a starter from 3 x 90g flour/100g water so the starter consists of 270g flour and 300g water. A total weight of 570g. I start each baking session by feeding my starter one of its 90g flour and 100g water just to give it a boost. Leave it on your kitchen work top, ie in room temperature.
After 3 hours or so, you should see a "doming" on the surface of the starter - this indicates that the starter is at its most active state and ready to start baking with.
To make a modestly sized loaf, measure out 200g of starter, of which 94.5g is flour and 105g water.
Now feed the remaining starter another portion of 90g flour and 100ml water, and leave it out for an hour or two to revive it, then introduce it to its new home: the fridge. The importance of temperature on sour dough is the first thing for any successful baker to understand. I will come back to this, but now, let's focus on making a loaf.
Add to your 200g starter 300g flour and 200g water. This brings the total amount of flour in the dough to 395g and the total of water to 305g. This means a hydration level of 77%. Hydration - ie how much water to flour - is something most bakers of sour dough will discuss and compare - to the point where it often becomes rather competitive - the wetter the dough, the more impressive! Your dough should be loose and sloppy, but not runny.
ONE MEDIUM SOUR DOUGH
200g sour dough starter
300g strong white flour or a mix of 200g white and 100g rye
200g water
7g fine sea salt
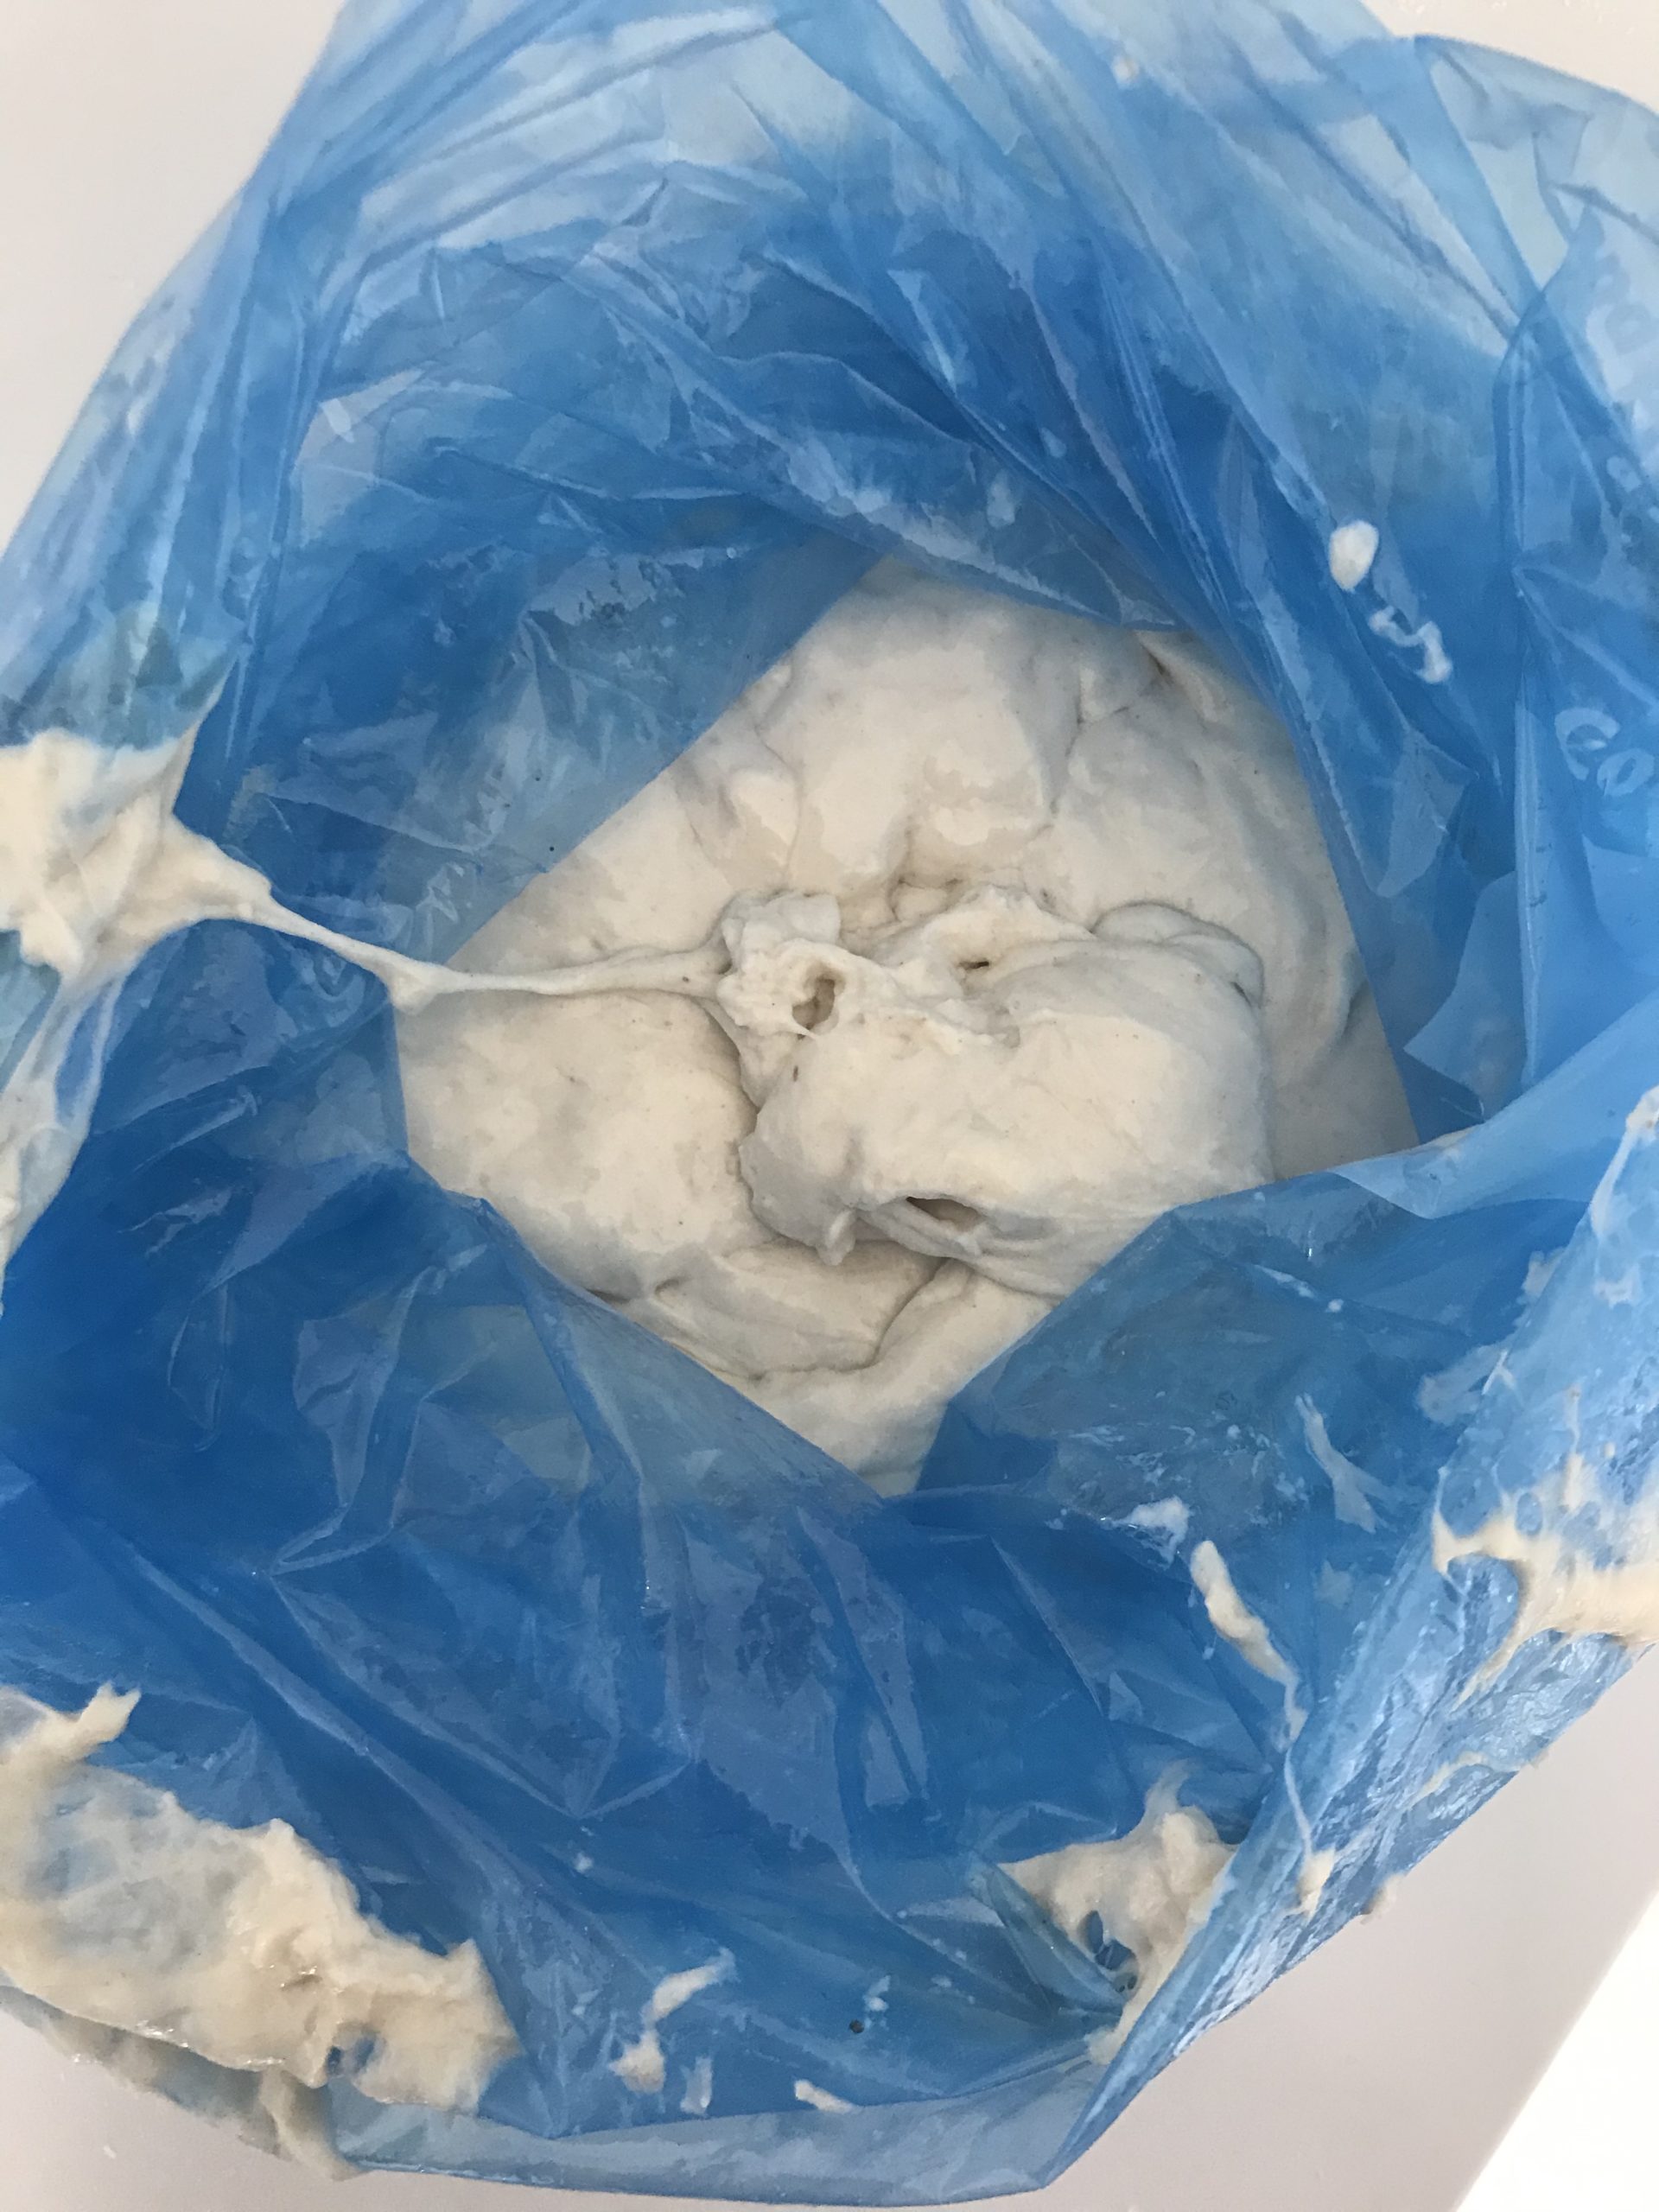
- Mix and knead until stretchy and elastic. You will struggle at first to knead such a wet dough. Use a plastic dough scraper if you have one, to lift and slap down the dough. Work it, to develop gluten, for about 8-10 minutes. Tip into a lightly oiled, large plastic bag and leave to rise in the fridge over night.
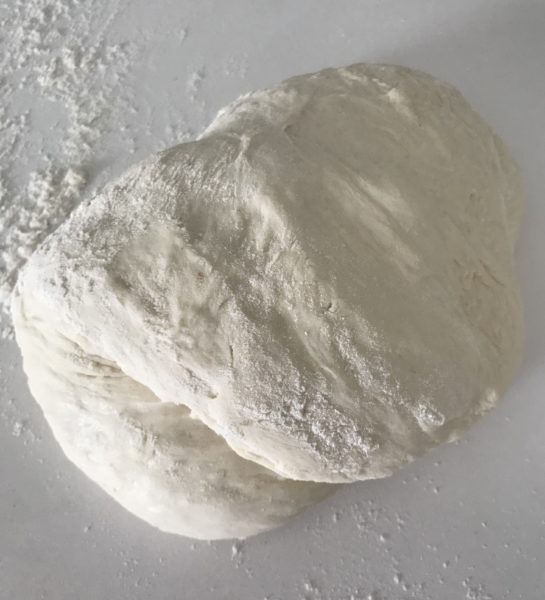
- The next morning, tip out the dough, give it a little knead and flatten out slightly, then fold in towards its centre. Repeat this, striving to create surface tension by pulling the "skin" of the dough into the fold, making a tight ball. Think of tucking hair under a swimming cap or imagine you had cling film around the dough and you are trying to putt that in to tighten. The more taut the "skin" of the shaped bread is, the more likely it is to keep its shape when baking and not shoot out odd looking bubbles on the side.
 Tip, seam side up, into a floured proving basket if you happen to have a proving basket. If you don't, just place it on a floured baking sheet.
- Drape a clean tea towel loosely over the loaf and leave to prove for 2-3 hours.
- Heat oven to 210C, with an empty roasting tray at the base of the oven.
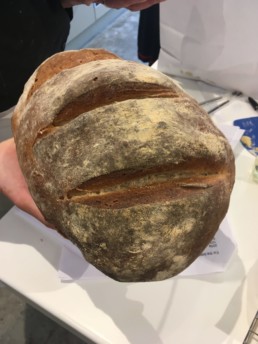
- If you have been proving in a basket, gently tip out the dough on a floured baking sheet. If your dough is already on a floured baking sheet you are ready to score it with a sharp knife - or use scissors to snip into it. This will also help the bread to keep its shape when baking.
- Tip a glass of cold water into the hot roasting tray at the bottom of your oven, to create steam and encourage crust and a quick setting of the bread's shape, and then put the bread in. This can be omitted as there is no risk your loaf won't have a good crust on it.
- Bake for 45 minutes or until hollow sounding when tapped on the bottom.
- If you wish you can of course double the quantity of dough to make a larger loaf and if so, bake it for at least an hour, perhaps a little longer.
- Leave the loaf to cool down before cutting into it to give
Understanding the importance of Temperature
When not in use, a starter needs to be kept in a sealed container in the fridge. While in a cold temperature, a wild yeast starter will be dormant - think of it as being in a state of hibernation - and will revert to looking “flat” and lifeless just like your original mixture before yeast developed. To revive it for baking, bring it to room temperature, feed it and leave it for a couple of hours to become active and healthy. If you bake every day, the starter can be kept in a cool room temperature as it will be constantly used and revived. What a wild yeast starter can’t survive is being left in an ambient temperature for a long periods of time without being fed fresh flour and water. This will result in the "bad" bacteria winning the war over the good ones, and the starter will start to smell very strongly acidic and vinegary and will eventually succumb - the bad bacteria will have won the battle over the good ones. With patient, constant feeding at regular 2-4 hour intervals, you should be able to nurse your poorly starter back to health. To maintain a healthy starter, feed it weekly by bringing it to room temperature, decanting off a little, then feeding it fresh water and flour and returning it to the fridge once revived.
Sour dough fans have been known to bring their starter out with them in the garden – sitting quietly under a rose bush or on a garden table, meeting new, incoming yeast spores. Looking after sour dough is a nurturing process. Look after your sour dough, feed it, refresh it and use it regularly, and you will be rewarded by exceptional bread.
What's for Supper Weekend Bread Special 1: making a sour dough starter
Our bread making classes remain the most rewarding classes to run for me and my team of Leiths and Cordon Bleu trained teaching chefs. For so many of our attending guests, they are life changing. The Beginners Bread class was the very first class that I designed back in 2009, out of our now 40 odd categories of classes. As an artisan baker, my heart and soul is in bread making in a way which it simply isn't when it comes to cakes or desserts.
Quite a few of you have got in touch with questions relating to the lack of flour and keeping sour dough starters alive and well. Sour dough is, as those who bake it know, in a category of its own. Working with natural yeasts and ferments is so very different from baking bread with commercial yeast. But now is the time to try our hands at something different, and I thought I would create a post about how to create a sour dough starter.
A starter is made simply from strong organic flour and water, in more or less equal quantity. I usually work with a starter which consists of 90g flour to 100g water. We keep litres of it in our kitchen at the school but at home you probably don't wan't to store more than 500g. Organic flour is important to ensure that there are no chemicals inhibiting the natural yeast bacteria in the flour.
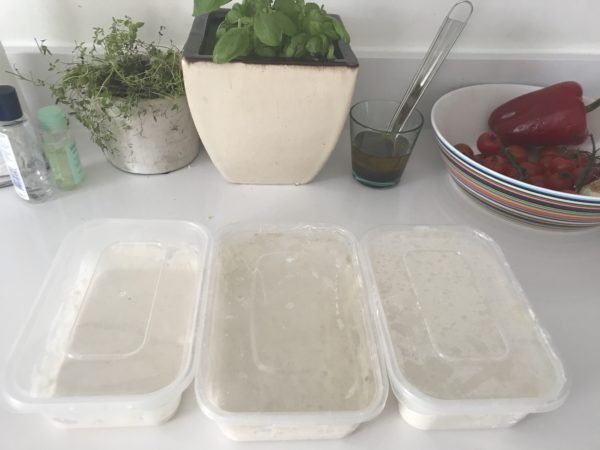
These were my pots of starter during the 3-day creating process earlier this week.
The images don't convey the change in texture that you should expect, so here is a little film to show consistency
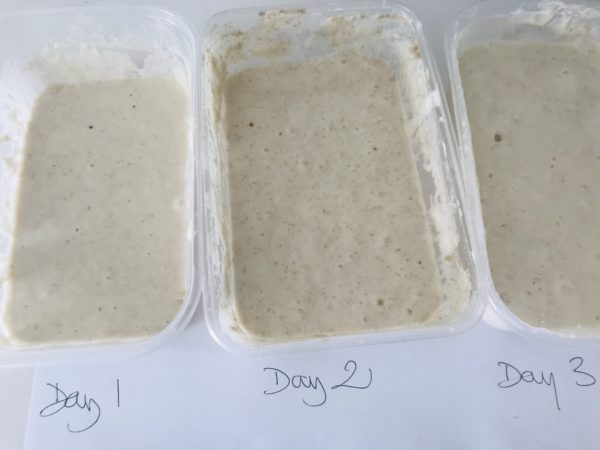
Day 1: 90g strong organic flour/100g water - creates a dense, flat gloop
Day 2: 90g strong organic flour/100g water - starting to develop air bubbles
Day 3: 90g strong organic flour/100g water - plenty of action, lots of air bubbles
Leave this on the kitchen work top - or outside, to capture local wild yeast spores in the air over the course of the 72 hours. To encourage yeast development when you first make a starter, you could add a few dried raisins or a little honey. Once the starter is healthy, it should be kept in the fridge. If left on the counter top in a warm kitchen, the fermentation will carry on and tip the balance of bacteria until it becomes a black, stinking mass. That requires emergency measures.
When I am getting ready to create a dough, I feed my starter again and leave it on my work top, in the warmth of my kitchen, to ensure it is at its most potent. Usually that will take about 90 minutes to 2 hours. This is what it should look like STARTER READY TO WORK WITH
If you have a starter already but have run out of strong and/or organic bread flour, you can feed your starter any flour, just to keep it alive and healthy. A plain flour won't have the gluten content required for making a good, structural bread, but it will sustain your starter until you can get hold of strong flour. Non-organic flour will have very little natural yeast spores left in it but you can help it along by placing the starter outdoors. You can use rye, 00 flour, plain, wholemeal, seeded, brown, spelt - anything but self rising. I know it's obvious but I will point it out anyway; self rising contains dry commercial yeast and it would kill off your wild ferment. A sour dough starter fed mainly on plain, or other less glutenous flours over a period of time can still be used to bake with. Try making milk rolls - recipe coming tomorrow - or enriched dough for cinnamon buns, hot cross buns etc where you are not aiming for a rustic loaf, but softer types of rolls and baked goods.